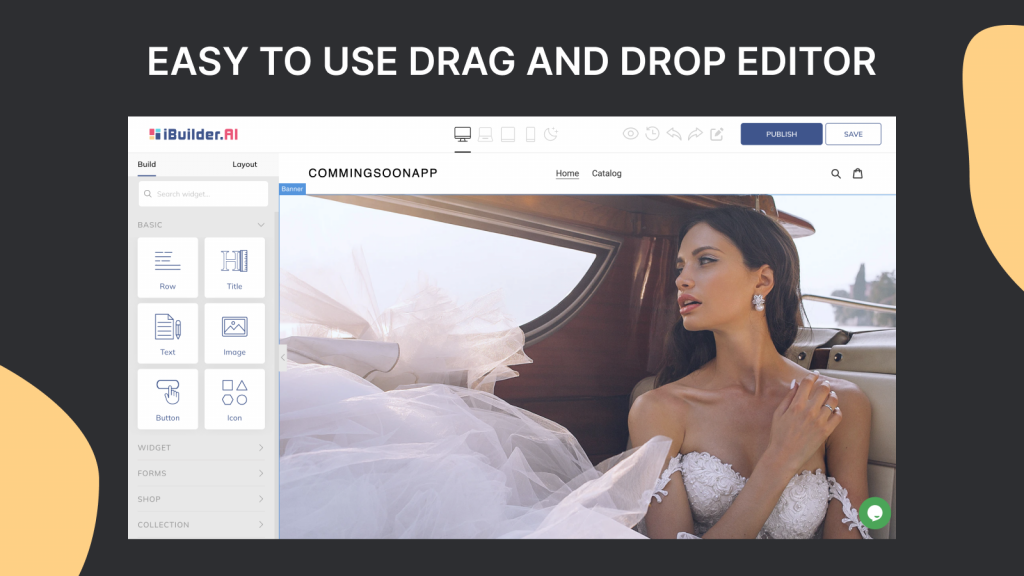
iBuilder is a powerful website builder that allows you to create stunning product pages for your online store. In this blog post, we will walk you through the steps of creating a product page with iBuilder.
Step 1: Log in to your iBuilder account
If you haven’t already, log in to your iBuilder account and navigate to the dashboard.
Step 2: Add a new page
From the dashboard, click on “Pages” and then “Add New Page.” Select “Product Page” from the available page templates. Learn more about creating pages.
Step 3: Add product details
Once you have created the product page, add the product details such as name, description, price, and images. You can add multiple images of the product from different angles, and iBuilder will automatically create a gallery for you.
Step 4: Customize the page layout
iBuilder offers a range of customization options to make your product page look unique. You can change the layout of the page, add different sections such as product reviews, related products, and more.
Step 5: Add product variants and options
If your product comes in different colors or sizes, you can easily add product variants and options. For example, you can add a dropdown menu for customers to select their desired color or size.
Step 6: Publish your product page
Once you have completed all the steps above, you are ready to publish your product page. Click on “Publish” to make your product page live on your website.
In conclusion, iBuilder makes it easy to create beautiful and functional product pages for your online store. With its intuitive drag-and-drop interface and customization options, you can create a product page that showcases your products in the best possible way. Follow the steps above to create a stunning product page with iBuilder.
